Unipole hoardings have become one of the most preferred outdoor advertising formats across highways, arterial roads, and premium urban corridors. Their tall structure, single-column support, and high visibility make them ideal for large-format brand communication. However, behind every unipole hoarding lies a carefully planned and engineered fabrication workflow. Understanding the unipole hoarding fabrication process explained step by step helps media owners and advertisers assess quality, safety, and long-term durability before installation.
This article breaks down the complete unipole fabrication process in a clear, sequential manner.
What Is a Unipole Hoarding Structure?
A unipole hoarding is a billboard supported by a single, high-strength vertical pole fixed on a reinforced concrete foundation. Unlike conventional hoardings with multiple supports, unipoles rely heavily on structural engineering, fabrication precision, and foundation strength.
Therefore, each fabrication stage must be executed accurately to ensure safety and performance.
Step 1: Site Survey and Feasibility Assessment
The unipole hoarding fabrication process begins with a detailed site survey. Engineers and fabrication teams inspect the proposed location to evaluate technical feasibility.
Key assessments include:
-
Soil type and bearing capacity
-
Wind exposure and surrounding terrain
-
Visibility angles and traffic flow
-
Accessibility for cranes and installation equipment
As a result, site-specific data guides structural design and foundation planning.
Step 2: Structural Design and Engineering Calculations
After the site survey, structural engineers prepare detailed designs. This stage is critical because unipoles face high wind loads due to height and large display surfaces.
Engineering calculations include:
-
Wind load analysis
-
Pole diameter and thickness design
-
Load-bearing capacity
-
Foundation depth and reinforcement
Consequently, the design ensures compliance with safety standards and municipal regulations.
Step 3: Material Selection for Unipole Fabrication
Material quality defines the lifespan of a unipole hoarding. Most unipoles use high-grade structural steel due to its strength and flexibility.
Common materials include:
-
Structural steel pipes or plates
-
Galvanized steel for corrosion resistance
-
High-tensile bolts and fasteners
Additionally, protective coatings such as galvanization and anti-rust primers are specified at this stage.
Step 4: Pole Fabrication and Welding Process
Once materials are finalized, fabrication begins in the workshop. Steel plates or pipes are cut, rolled, and welded to form the unipole column.
Key fabrication activities include:
-
Precision cutting using CNC or plasma machines
-
Rolling steel plates into circular sections
-
Full-penetration welding for strength
-
Grinding and surface finishing
As a result, the unipole column achieves uniform thickness and structural integrity.
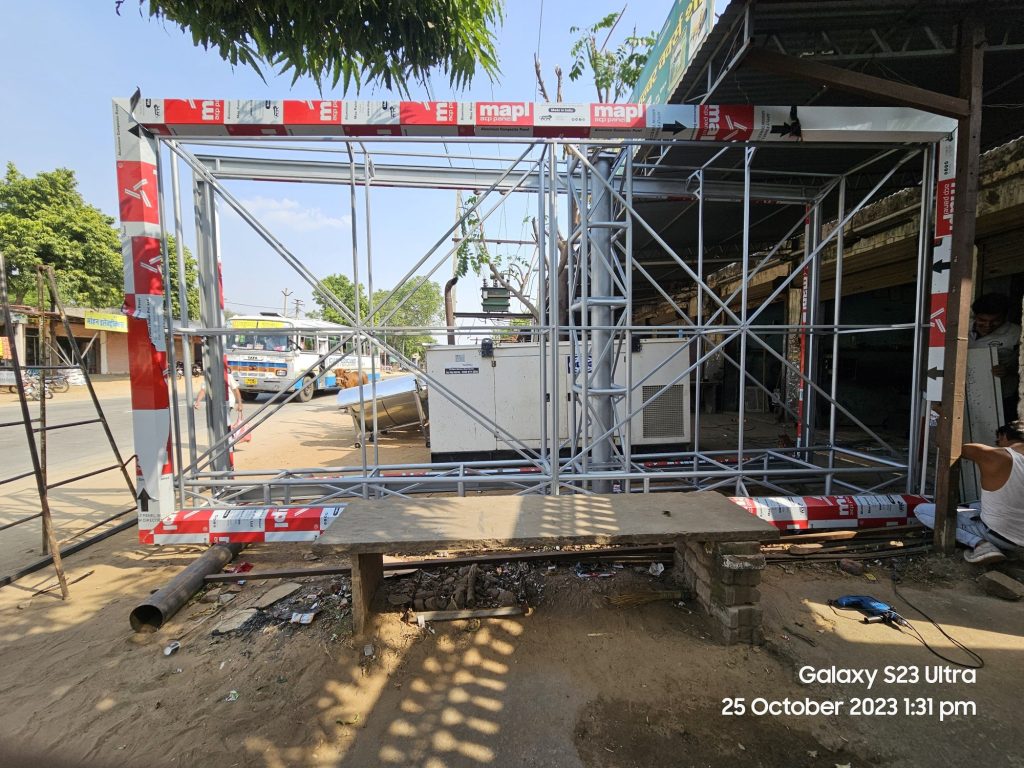
Step 5: Fabrication of Hoarding Frame and Bracing
Along with the pole, the display frame is fabricated. This frame supports the flex, sheet, or digital display panels.
Fabrication includes:
-
Frame grid welding
-
Bracing design for wind resistance
-
Mounting brackets for display material
Therefore, the frame remains rigid even during strong winds.
Step 6: Surface Treatment and Protective Coating
Before dispatch, all fabricated components undergo surface treatment. This step is crucial for long-term durability.
Protective processes include:
-
Sand blasting or shot blasting
-
Zinc galvanization or epoxy primer application
-
Weather-resistant paint coating
Consequently, the unipole structure resists rust, moisture, and pollution.
Step 7: Foundation Construction at Site
While fabrication continues, foundation work starts on-site. Unipole foundations are massive because they counter overturning forces caused by wind.
Foundation construction involves:
-
Excavation as per engineering drawings
-
RCC reinforcement cage placement
-
Anchor bolt positioning
-
Concrete pouring and curing
As a result, the foundation becomes the primary load-bearing element of the unipole.
Step 8: Transportation and Site Erection
After fabrication and curing, components are transported to the site. Cranes are used to erect the unipole column onto the foundation.
Installation steps include:
-
Pole lifting and vertical alignment
-
Anchor bolt tightening
-
Frame mounting at height
-
Safety inspection during erection
Therefore, precision during this stage ensures structural stability and alignment.
Step 9: Display Installation and Final Safety Checks
The final step in the unipole hoarding fabrication process is display installation. Flex sheets, panels, or LED screens are fixed onto the frame.
After installation, engineers conduct:
-
Alignment checks
-
Bolt and weld inspections
-
Structural stability review
Only after safety clearance is the unipole declared operational.
Conclusion
The unipole hoarding fabrication process explained step by step highlights how engineering, material quality, and execution discipline come together to create safe and high-impact outdoor advertising structures. From site survey and structural design to fabrication, foundation work, and installation, every stage plays a critical role.
For media owners, understanding this process ensures better vendor evaluation, improved safety compliance, and longer asset life. In unipole advertising, visibility may drive attention—but fabrication quality ensures it stands tall for years.