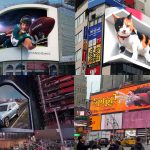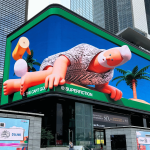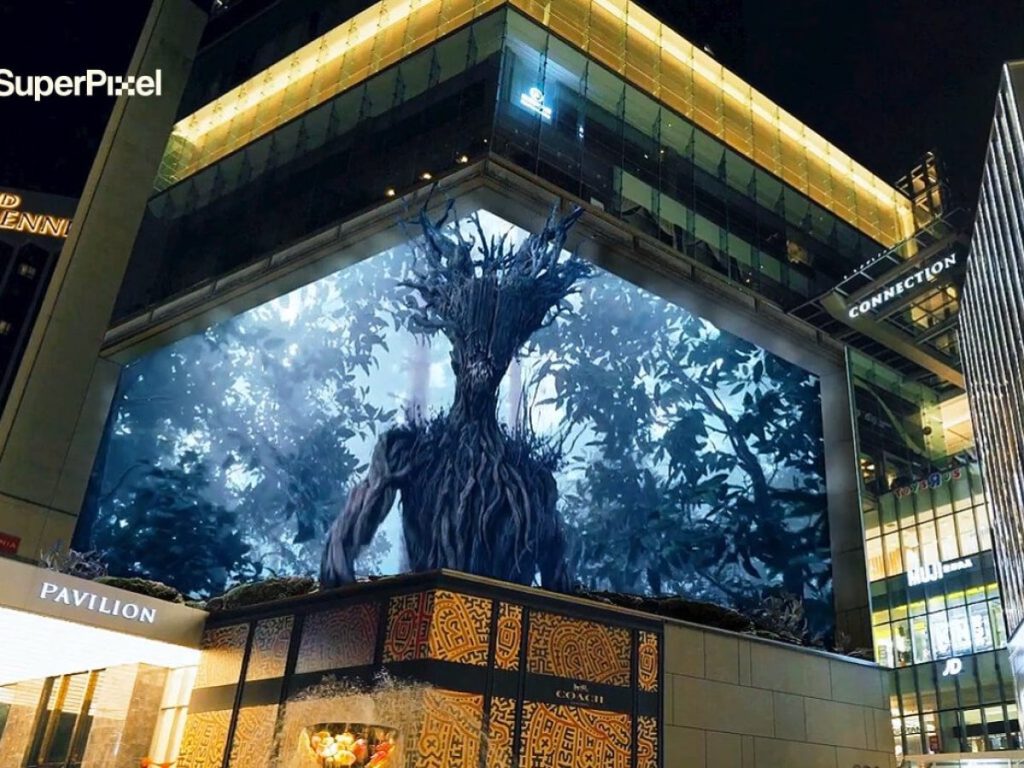
Anamorphic content has rapidly become one of the most powerful tools in outdoor advertising and experiential storytelling. While audiences see jaw-dropping visuals that appear to leap out of buildings, the real magic lies behind the scenes. In fact, designing anamorphic content is a highly technical and creative process that blends art, mathematics, spatial awareness, and storytelling.
This article breaks down how anamorphic content is designed, from camera angles to real-world illusion mapping, while explaining why precision is critical at every stage.
What Makes Anamorphic Content Different from Regular 3D?
Unlike standard 3D visuals, anamorphic content is not meant to look realistic from every angle. Instead, it is intentionally distorted so that it appears perfectly three-dimensional from one fixed viewing point. Therefore, the illusion only works when perspective, screen size, and audience position are carefully aligned.
Because of this, anamorphic design begins not with animation, but with location analysis.
Step 1: Site Analysis and Viewer Perspective Mapping
Every anamorphic project starts with understanding the real-world environment. Designers study:
-
Screen dimensions and resolution
-
Building corners, depth, and LED angles
-
Average pedestrian and traffic viewing points
-
Distance between viewer and screen
Once these details are mapped, a primary camera angle is locked. This camera represents the human eye standing at the ideal viewing spot. As a result, all visuals are later designed to look “correct” only from this angle.
Without accurate perspective mapping, even the most stunning animation will fail to create a convincing illusion.
Step 2: Camera Angle Locking and Virtual Space Setup
After identifying the optimal viewpoint, designers recreate the physical LED screen inside a 3D software environment. At this stage:
-
The camera is locked permanently
-
Screen edges are treated as 3D boundaries
-
Virtual depth is calculated beyond the physical screen
Because the camera never moves, all objects are intentionally stretched, skewed, or compressed. Although this looks strange during production, it becomes visually perfect from the real-world viewpoint.
This step is crucial, as even minor camera shifts can break the illusion entirely.
Step 3: Content Blocking and Depth Planning
Once the virtual environment is ready, artists plan how objects will interact with perceived depth. Typically, anamorphic content includes:
-
Foreground elements that appear to pop out
-
Mid-ground elements that anchor the scene
-
Background elements that add scale
For example, a product may extend beyond the screen edge, while shadows and reflections reinforce realism. Consequently, depth planning ensures that the illusion feels believable rather than gimmicky.
At this stage, storytelling also comes into play. Instead of showing everything at once, designers guide the viewer’s eye using motion and timing.
Step 4: Illusion Mapping and Edge Interaction
One defining feature of anamorphic content is edge interaction. Objects often break the screen frame, wrap around corners, or align perfectly with architectural lines.
To achieve this:
-
Screen edges are treated as physical surfaces
-
Objects are animated to respect perspective geometry
-
Lighting and shadows are matched to real-world conditions
Because of this careful illusion mapping, the brain accepts the fake depth as real. Moreover, when buildings and visuals align seamlessly, the content feels integrated into the city rather than overlaid on it.
Step 5: Lighting, Shadows, and Realism Enhancement
Lighting plays a major role in selling the illusion. Designers match virtual light sources with real ambient light such as sunlight direction, street lighting, or reflections from nearby structures.
Additionally, shadows are exaggerated slightly to enhance depth perception. Motion blur, texture detail, and scale cues are also refined. As a result, the final output feels cinematic rather than digital.
Step 6: Testing, Calibration, and On-Site Adjustments
Before going live, anamorphic content undergoes multiple test renders. However, screen behavior in real environments can vary due to brightness, contrast, and viewing distance.
Therefore, on-site calibration is essential. Designers often adjust scale, timing, and contrast after seeing the content live. This final step ensures that the illusion works consistently for most viewers.
Why Precision Is Everything in Anamorphic Design
Anamorphic content succeeds or fails on accuracy. While traditional ads allow creative flexibility, anamorphic storytelling demands technical discipline. Even a small misalignment can flatten the illusion.
However, when executed correctly, the payoff is massive. Audiences stop, record, share, and remember. Consequently, anamorphic design transforms outdoor screens into immersive storytelling platforms.
The Future of Anamorphic Content Design
As LED technology advances, anamorphic content will become more interactive and dynamic. AI-assisted rendering, real-time data triggers, and multi-angle adaptive illusions will push the format even further.
Eventually, anamorphic storytelling will move beyond spectacle and become a standard tool for premium brand communication.